
Made with only a handful of ingredients this is a very easy, and very tasty filling for whatever you like.
Family pie, single pies in a pie maker, toasted sandwiches, wraps. You could even add some extra stock and it will be a delicious soup.
To start, heat the pan or BBQ and season the chicken. I found it easy to sprinkle the garlic powder, onion powder, salt and pepper onto the chicken while it was in the tray from the shop. Make sure the pan is hot then place the chicken seasoned side down. While the first side is browning season the top side, Brown well before turning.
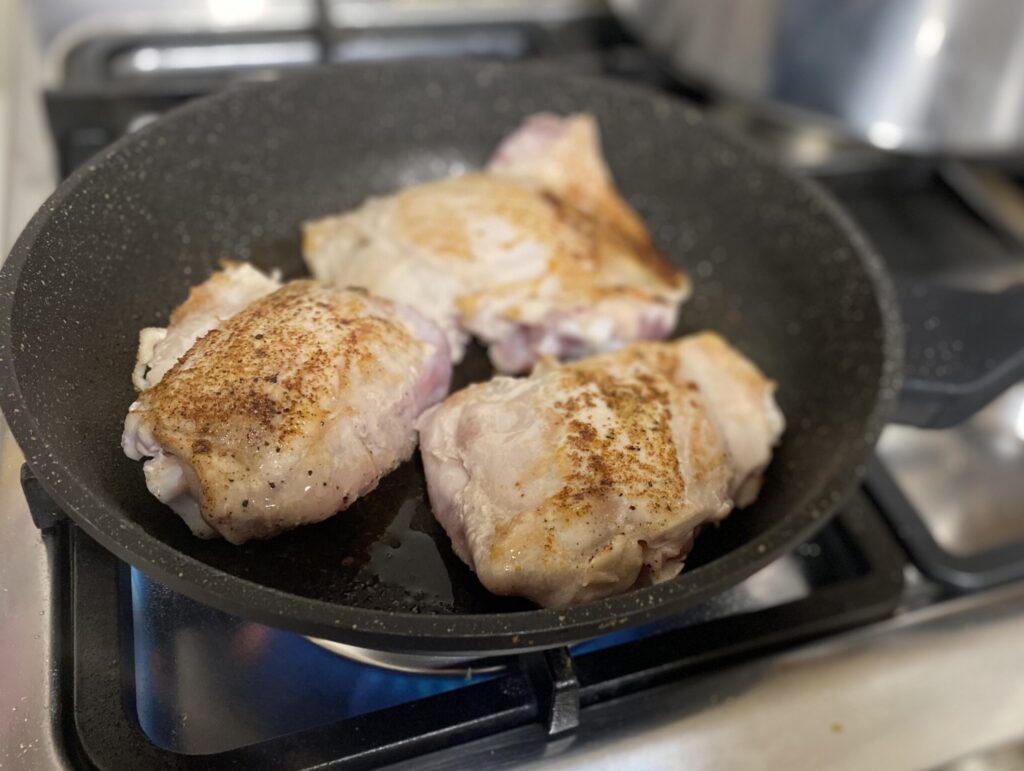
Once browned well on both sides, place on a plate and put the chicken into the fridge while you prepare the rest.
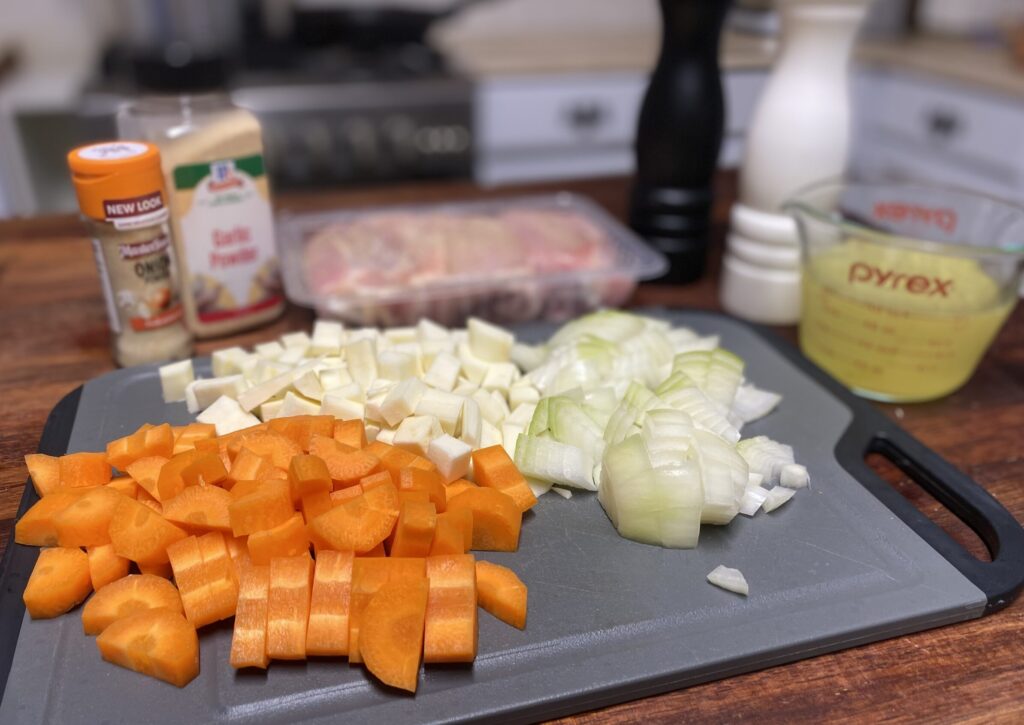
I have kept it simple, however you could add any different vegetables you like. Potatoes, corn, peas, swede, pumpkin, sweet potatoes, leek, all will work well in this pie filling.

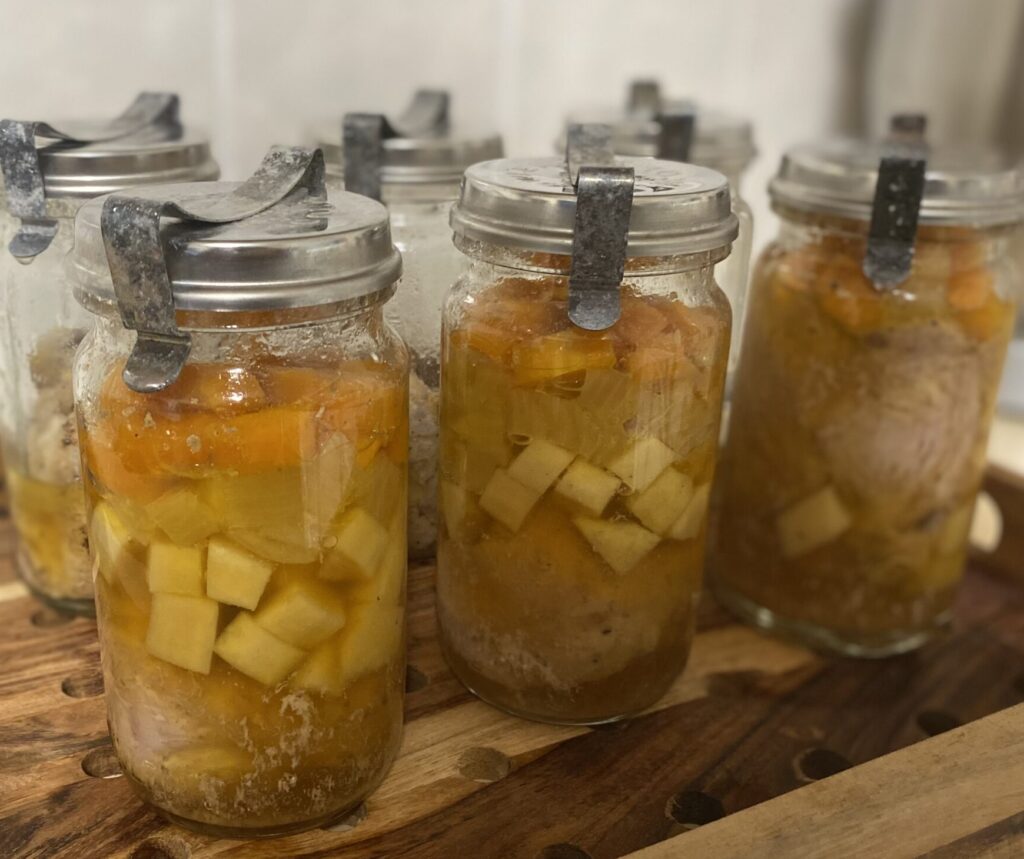
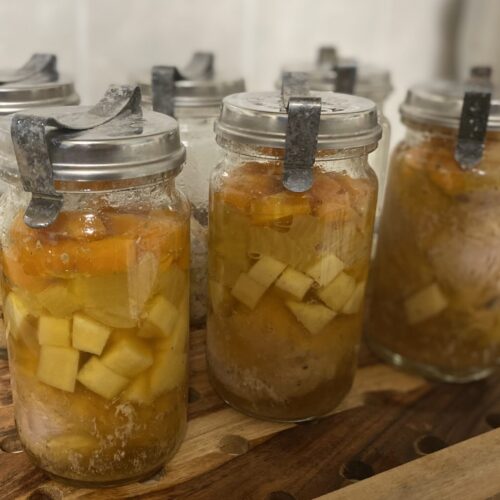
I feel that the vegetables work well in 1cm cubes, the exact size is a personal choice and can be adjusted. Keep in mind though that if they are cut smaller they may end up disappearing into the sauce, or if they are cut larger you may not be able to fit as much into the jars.
Keep each type of vegetables in separate piles or bowls to make it easier to evenly distribute them between the jars. It does not need to be perfect, but this will ensure that each jar has a good amount of each.
The jars, lids and seals need to be washed and rinsed well. You do not need to sterilize them, the pressure canning process kills all the bacteria and sterilizes the contents.
Start by packing one cutlet into each 500ml jar, or two cutlets into each 1L jar. I used tongs, and held them together while pushing them in. If they are too large you can cut them in half next to the bone.
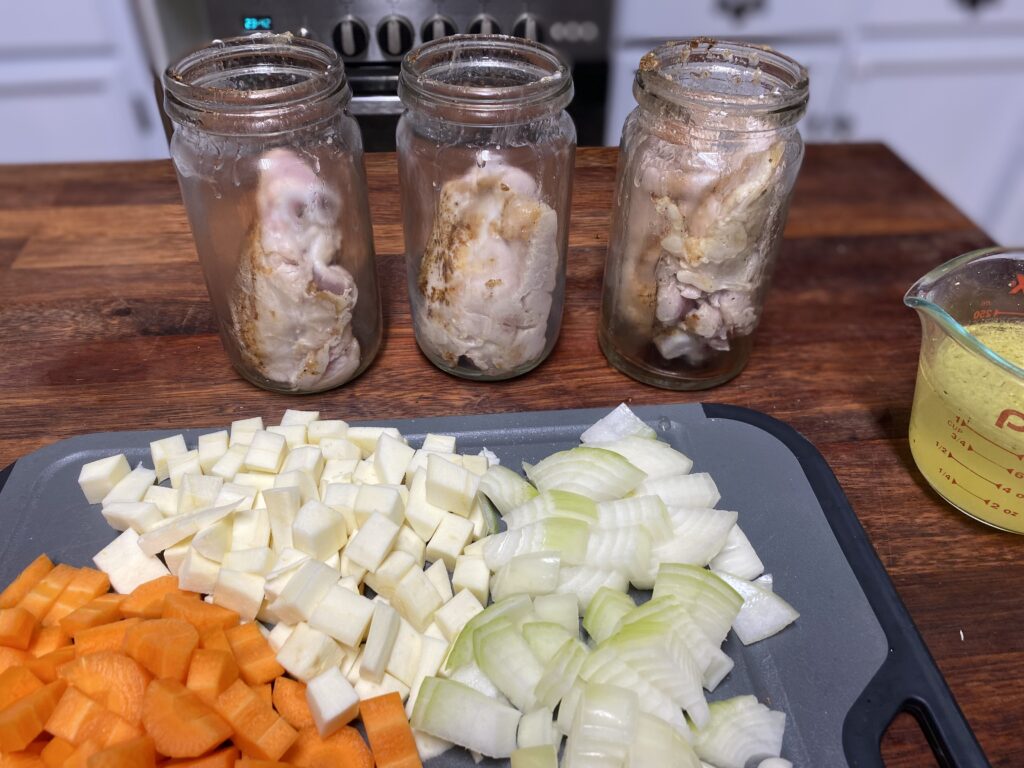
After the chicken start to layer the vegetables. Divide them as evenly as possible between the jars. You will need to use a packing stick, spoon, fork, butter knife or the handle of a wooden spoon to help push the pieces into place.
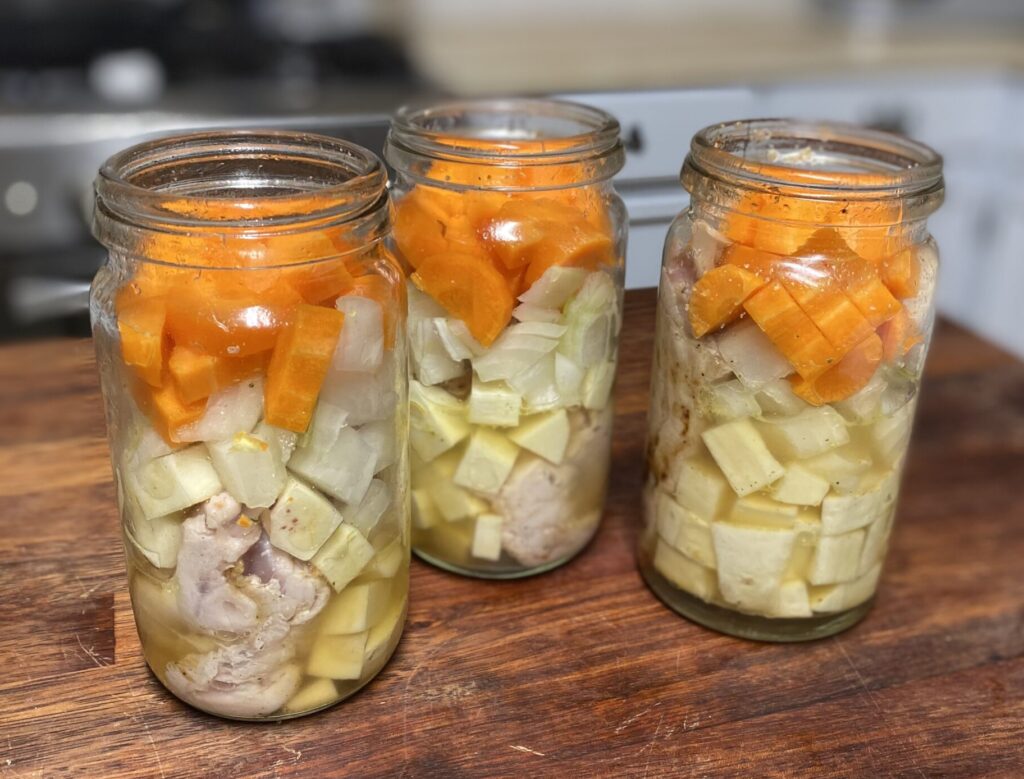
I usually don't like to add extra liquid, but this filling requires some extra to make enough sauce. You could leave out the stock and add it when you are ready to use. The processing times will be the same.
Pour the stock into each jar, use the packing stick or something similar to help the stock settle at the bottom of the jar and fill in any air pockets.
If you are using Mason jars with lids and rings place the lid and do up the ring finger tight. Use only your fingertips to tighten, otherwise the lids may buckle from the pressure.
If using Fowlers jars, place the rubber seal around the lip, add the lid then carefully place the clip across the center of the lid. Put one side of the clip in place then while holding the jar and the clip in place, stretch the other side over and into position.
Carefully place jars into the canner, the amount of jars that fit inside depends on the model. however keep in mind that the guide to how many jars is based on standard Mason jars. Fowlers jars take up more space due to the clips, so not as many will fit.
Ensure that the jars are not touching each other. If there is extra space for more, you could either add something else in a jar to process, or jars of water to prevent tipping.
A splash of vinegar to the water in the bottom of the canner will help keep your jars clear, otherwise they will come out cloudy. This will not effect the quality of the food, only the look of the jar for storage.
Close up the canner leaving the pressure regulator off, and turn the heat on. Once it is heated and steam is coming out the vent, start a timer for 10 minutes. When the timer is up add the pressure regulator to the correct pressure for your altitude (10lb for under 1000ft, 15lb for over 1000ft)
When the canner has reached pressure the regulator will 'jiggle' and release some steam. Start a timer for the processing time and adjust the heat so that it only 'jiggles' a few times a minute. You will get to know your stove and how high of heat it requires to hold pressure.
Be sure to keep it as stable as possible. Too much fluctuation in pressure can result in siphoning, which is when the contents of the jar leak out.
The time for processing is dependent on the size of the jar.
500ml (pint) 65 minutes
1000ml (quart) 75 minutes
Fowlers jars have other sizes as well, these are the sizes and times that I use.
Size 20, 600ml (pictured) 67 minutes
Size 26, 900ml 73 minutes
Size 31, 1000ml 75 minutes
Once the time is up, turn the heat off and allow the canner to depressurize naturally. Do not remove the pressure regulator until gauge reads zero pressure. Then remove the regulator and let it vent the steam out for 10 minutes before removing the lid.
Remove jars from canner using a jar lifter. If you do not have a jar lifter you can very carefully lift them out using oven mitts, be careful of steam and any hot liquid on the jars as it may soak through. Ensure that you do not knock the jars together as they are still under a lot of pressure.
The jars will need to cool down on the bench, I like to put them on a wooden surface so that there is no temperature shock. Keep some space between the jars for airflow.
Leave jars untouched for 12-18 hours, then remove the rings/clips and check that they are sealed. Press on the lid to check that there is no movement, it should be pulled down from the vacuum seal. If they have sealed you will be able to pick them up by the lid.
Label your jars with the contents and the date they were processed, after a while and a few different batches it can be difficult to remember what is in each jar.
Store jars in a single layer, if the seal fails at all you want to know it has. If they are stacked, they may create a false seal after air gets in which would spoil the contents.
Chicken Pie Filling
Equipment
- Pressure Canner
- Canning Jars
Ingredients
- 6 chicken thigh cutlets skinless
- onion powder to taste
- garlic powder to taste
- salt and pepper to taste
- 3 carrots
- 1 large parsnip or 2 small parsnip
- 2 onions onion
- 1 cup chicken stock
- oil for frying
Instructions
- Turn on BBQ or frying pan to high heat
- Season one side of the chicken with garlic powder, onion powder, salt and pepper
- Once the pan heats up, add a drizzle of oil. Add the chicken with the seasoned side down. Add seasonings to the top side of the cutlets. brown on both sides then place on a plate in the fridge.
- Peel vegetables and chop into roughly 1cm cubes, set aside.
- Prepare Pressure Canner as well as any jars, lids and seals required. Set jars out on benchtop ready for filling. This recipe suits 6 500ml (pint) jars, or 3 1000ml (quart) jars
- Divide the chicken between jars using tongs to help, If the pieces wont fit through the rim, just chop of one side off the cutlet next to the bone and put them in separately.
- Divide each of the vegetables between each jar as evenly as you can. Use a spoon, fork, butter knife or the handle of a wooden spoon to help push the pieces into place. Ensure that the contents leave a 1 inch space at the top of the jar after pushing them into place.
- Pour 40ml of chicken stock into each 500ml jar, or ⅓ cup into each 1000ml jar, press the contents around until the stock is all at the bottom of the jar.
- Once the jars are packed, take a paper towel damp with some white vinegar and wipe down the rim of the jars to remove anything that may interfere with the seal. place the lids and lower the jars into Canner. if there is space for more jars, you can add jars filled with water to prevent them from tipping during processing.
- Add the lid and bring the Canner to boil until steam comes out the top in a steady stream for 10 minutes. Add the pressure regulator weight (10lb for under 1000ft elevation and 15lb for over 1000ft elevation) and let the Canner come to pressure and the weight jiggles.
- Start timer according to size of jar. 65 minutes for 500ml (pint) and 75 minutes for 1L (quart)
- Once timer is finished, turn heat off and follow manufacturers instructions for de-pressurization.
- Remove jars from Canner and place on wooden board for 12-18 hours.
- Remove rings/clips and check to make sure they have sealed. If there is any residue on the jars give it a clean with a cloth and some warm soapy water then label your jars with the contents and date processed. Store in a single layer, do not stack.