
My first time making this pork and canning it, I used it the next night for dinner. Pulled out some canned potatoes, canned corn, the pulled pork, and grated some carrot and cheese. It came together as a sort of loaded baked potato, and only took about 10 minutes from opening the pantry, to sitting down and enjoying the meal.
The pork can be served with vegetables or added to your favourite dishes (fried rice, pasta dishes, tacos, mac and cheese) pretty much anything you want.
I have even had it straight from the jar, spread onto rolls. It was a very quick, delicious and inexpensive meal while on a long drive.
I have found that when I make canned meats, they have the best flavour and texture when using a dry rub or paste, and adding the bare minimum of liquid if any at all.
Meat releases a lot of liquid when it cooks which stays in the jar and combines with the flavours to make an intense sauce. If you have ever made a casserole in a pressure cooker, it is very similar. Due to being in a sealed container, the liquid is mostly trapped inside.
Also, pressure cooked meat seems to absorb water faster than the seasonings. It can result in bland tasting food, despite any sauces or gravy.
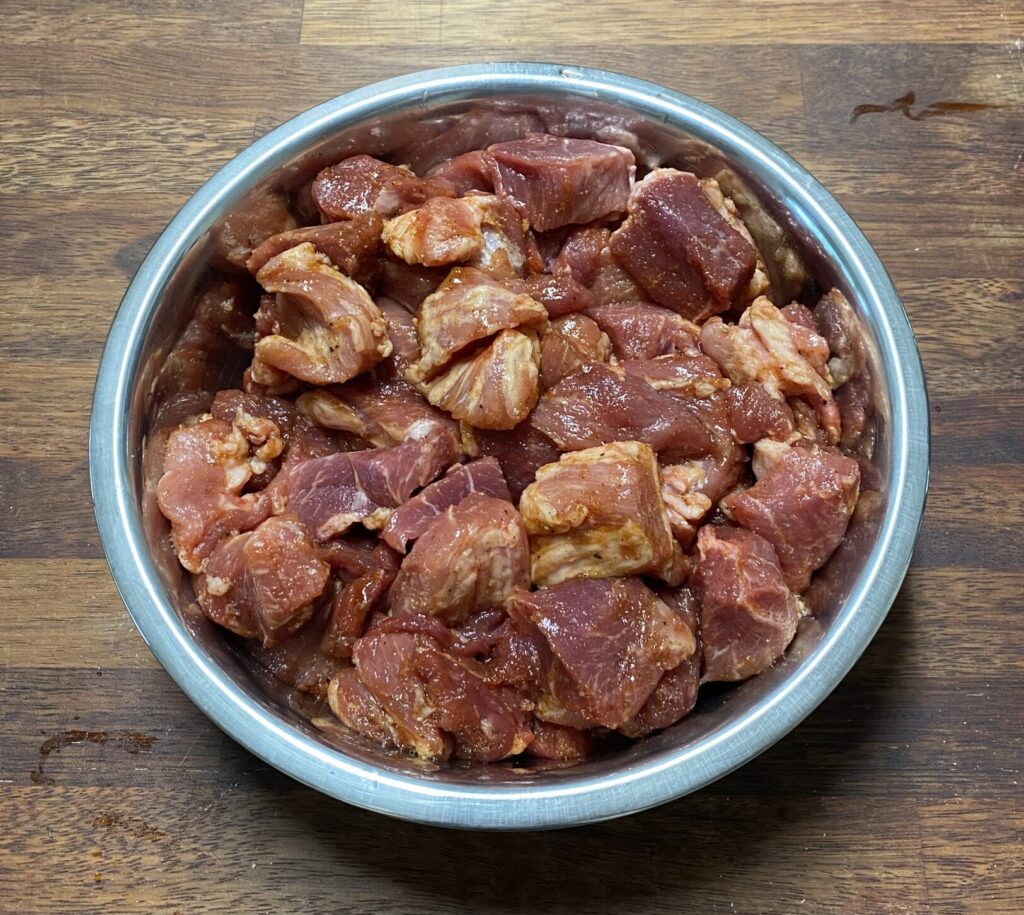
When preparing the Pork, the size is up to you. Trim of the fat, which can interfere with the canning process. You don't need to remove ALL of the fat, just clean it up and remove the bulk of the fat. The size of the pieces should be cut to uniform sizes, however I have done both 1 inch and 2 inch cubes. The only problem that i had with the larger size was fitting them into the smaller jars that I was using. I could only get 3 cubes in each and there was a lot of extra 'space'. However they processed well, sealed properly, and tasted AMAZING!
Once your pieces are cut, combine all of the rub ingredients in a large mixing bowl and add the meat. Toss it all around to get each piece covered. You can leave it to marinade if you like, just cover the bowl and throw it in the fridge for a few hours or overnight.
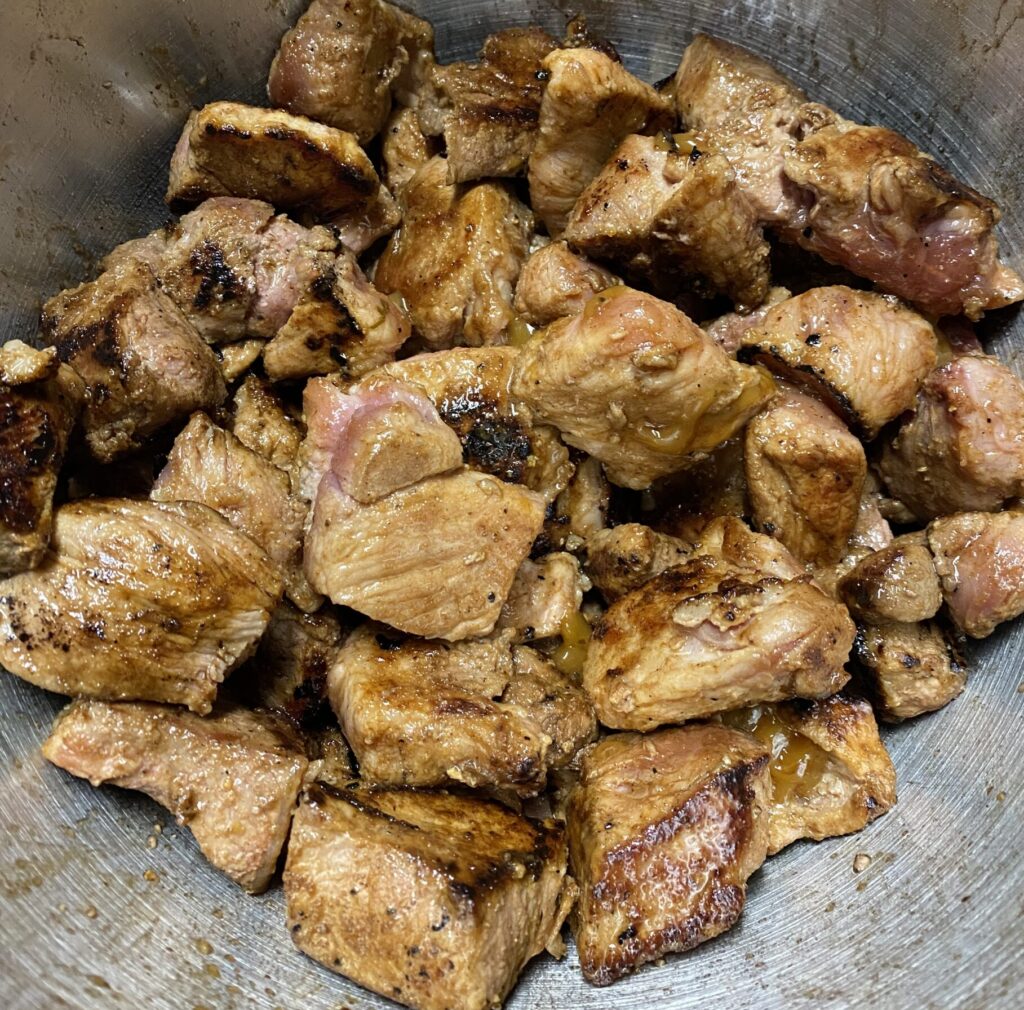
To get the best flavour in the final product, the meat should be sealed. You can skip this step, however i highly recommend it. My favourite way is to fire up the barbie, but it can be done on the stove.
Turn it on high, let it heat up, and throw that pork on. Be sure not to add too much at a time, give them room and do batches if required. WARNING: this WILL result in mouth watering! Brown it on all sides, as quick as possible. Once browned throw it back in the bowl and chuck it in the fridge while you prepare your jars.
Wash your jars and lids in hot soapy water, rinse them well and check them to make sure there is no damage. Sterilization is not required as pressure canning kills any bacteria on and in the jars.
Prepare your pressure canner according to manufacturer instructions, water in the bottom and any safety checks required on seals/valves.
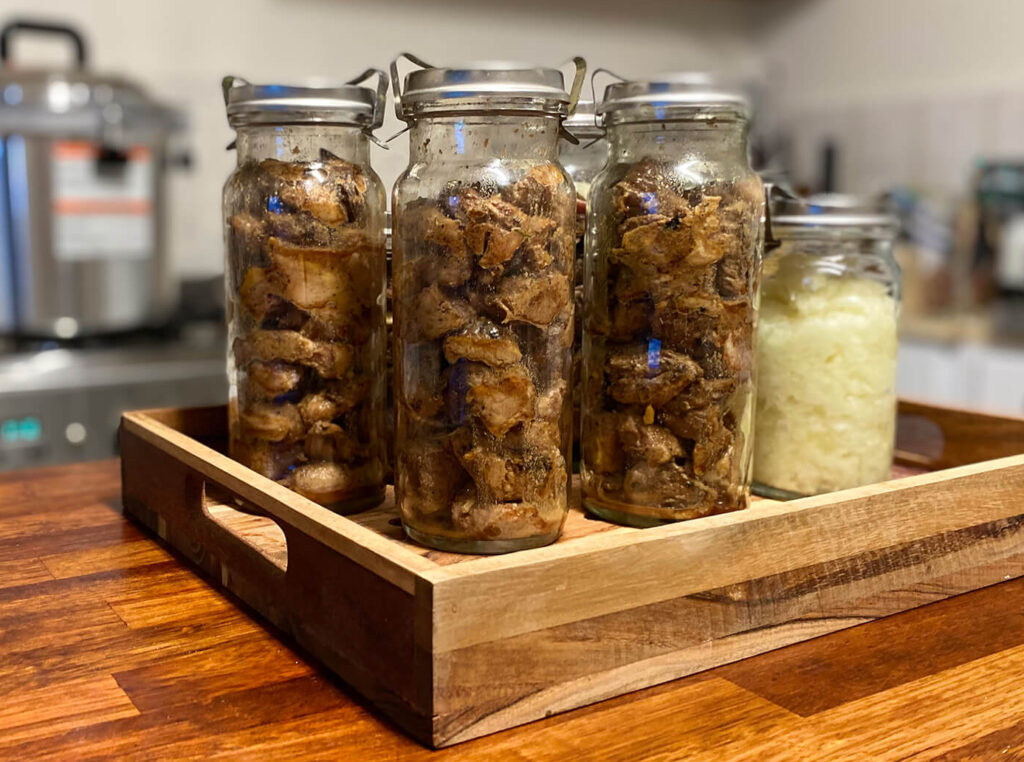
Once your jars are washed and rinsed, start packing the pork. A jam funnel will help keep it tidy, but not required. Use tongs to position the pork in each jar, pack it in as tight as you like. I have done it tightly packed as well as loose, you can choose either way.
Make sure you leave a 1 inch headspace in each jar, if it is too close to the lid the seal may fail due to food particles leaking out during processing.
Take some paper towel with a little vinegar and wipe around the rim of the jar. Mason jars seal on the very top rim of the glass, Fowlers jars seal around the edge. Your goal is to remove any food, liquid and fat from these areas.
If using Mason jars with lids and rings place the lid and do up the ring finger tight. Use only your fingertips to tighten, otherwise the lids may buckle from the pressure.
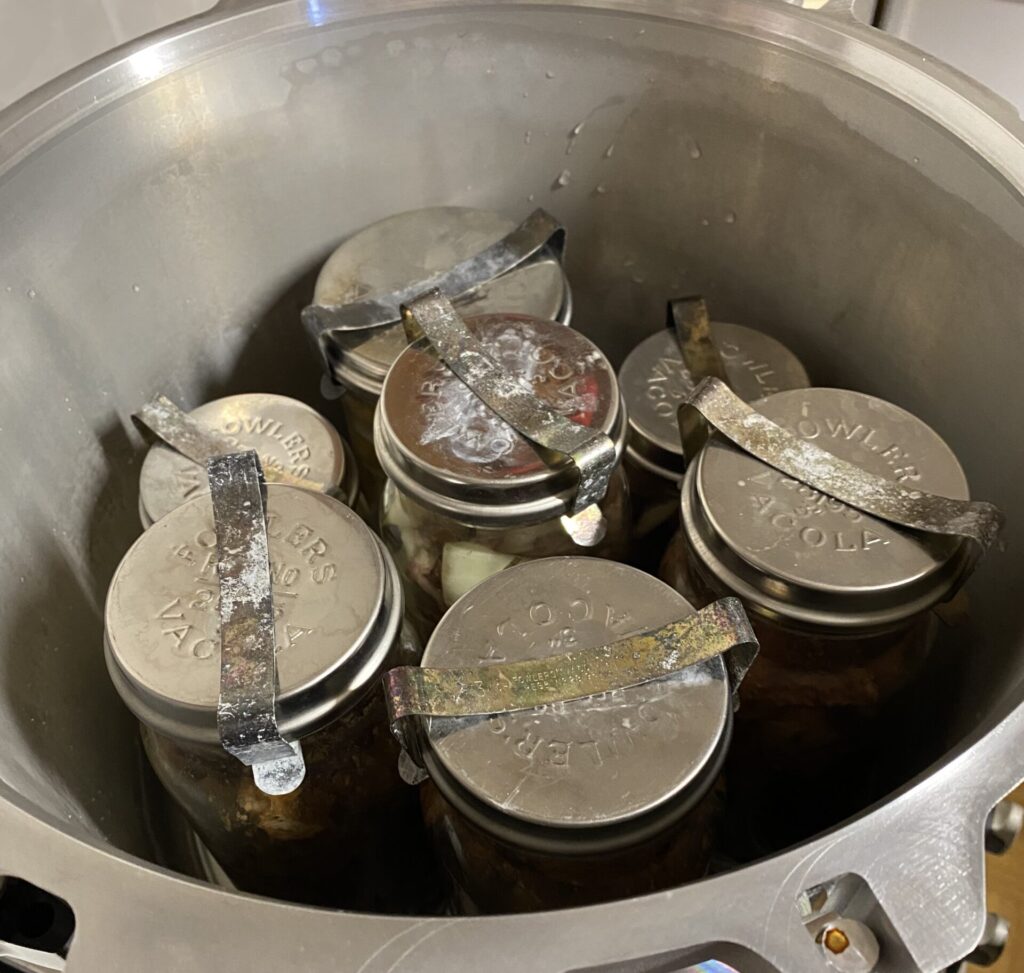
If using Fowlers jars, place the rubber seal around the lip, add the lid then carefully place the clip across the center of the lid. Put one side of the clip in place then while holding the jar and the clip in place, stretch the other side over and into position.
Carefully place jars into the canner, the amount of jars that fit inside depends on the model. however keep in mind that the guide to how many jars is based on standard Mason jars. Fowlers jars take up more space due to the clips, so not as many will fit.
Ensure that the jars are not touching each other. If there is extra space for more, you could either add something else in a jar to process, or jars of water to prevent tipping.
A splash of vinegar to the water in the bottom of the canner will help keep your jars clear, otherwise they will come out cloudy. This will not effect the quality of the food, only the look of the jar for storage.
Close up the canner leaving the pressure regulator off, and turn the heat on. Once it is heated and steam is coming out the vent, start a timer for 10 minutes. When the timer is up add the pressure regulator to the correct pressure for your altitude (10lb for under 1000ft, 15lb for over 1000ft)
When the canner has reached pressure the regulator will 'jiggle' and release some steam. Start a timer for the processing time and adjust the heat so that it only 'jiggles' a few times a minute. You will get to know your stove and how high of heat it requires to hold pressure.
Be sure to keep it as stable as possible. Too much fluctuation in pressure can result in siphoning, which is when the contents of the jar leak out.
The time for processing is dependent on the size of the jar.
500ml (pint) 75 minutes
1000ml (quart) 90 minutes
Fowlers jars have other sizes as well, these are the sizes and times that I use.
Size 20, 600ml 80 minutes
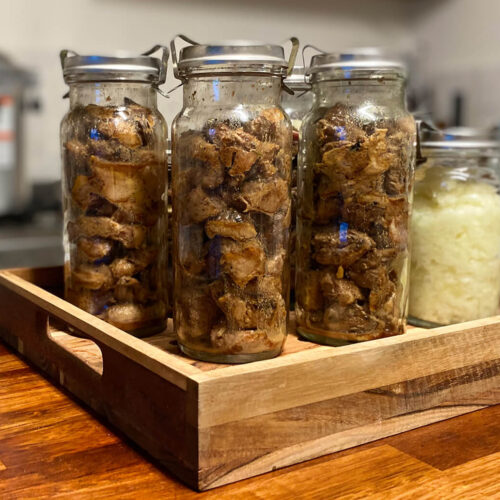
Size 26, 900ml (pictured) 90 minutes
Size 31, 1000ml 90 minutes
Once the time is up, turn the heat off and allow the canner to depressurize naturally. Do not remove the pressure regulator until gauge reads zero pressure. Then remove the regulator and let it vent the steam out for 10 minutes before removing the lid.
Remove jars from canner using a jar lifter. If you do not have a jar lifter you can very carefully lift them out using oven mitts, be careful of steam and any hot liquid on the jars as it may soak through. Ensure that you do not knock the jars together as they are still under a lot of pressure.
The jars will need to cool down on the bench, I like to put them on a wooden surface so that there is no temperature shock. Keep some space between the jars for airflow.
Leave jars untouched for 12-18 hours, then remove the rings/clips and check that they are sealed. Press on the lid to check that there is no movement, it should be pulled down from the vacuum seal. If they have sealed you will be able to pick them up by the lid.
Label your jars with the contents and the date they were processed, after a while and a few different batches it can be difficult to remember what is in each jar.
Store jars in a single layer, if the seal fails at all you want to know it has. If they are stacked, they may create a false seal after air gets in which would spoil the contents.
Canned Barbeque Pulled Pork
Equipment
- Pressure Canner
- Canning Jars, Lids, Seals
Ingredients
- 2 kg Pork Roast boneless or bone-in, approximate weight.
Dry Rub
- 4 tbsp brown sugar
- 1 tsp mustard powder
- 1 tsp onion powder
- 1 tsp smoked paprika
- 1 tsp garlic powder
- ¼ tsp cayenne pepper
- 2 tsp salt
Other
- olive oil
- white vinegar
Instructions
- Remove excess fat and rind from pork, cut to 1-2 inch cubes.
- Combine all dry rub ingredients in a mixing bowl or ziplock bag large enough to hold all of the pork. Add pork to seasonings and mix/squish until all pork is coated.
- Heat BBQ or large frying pan on high, add a small amount of olive oil. Once heated add pork pieces being careful not to overload the area. Do multiple batches if required. Turn meat pieces until browned on all sides. Return browned meat to bowl and place in the fridge to cool down.
- Prepare Pressure Canner as well as any jars, lids and seals required. Set jars out on benchtop ready for filling.
- Take the pork from the fridge, start packing pieces into jars, the size of the jars and how tightly you pack them will depend on the amount that you are likely to use for a meal. Use a spoon, fork, butter knife or the handle of a wooden spoon to help push the pieces into place.
- Once the jars are packed, take a paper towel damp with some white vinegar and wipe down the rim of the jars to remove anything that may interfere with the seal. place the lids and lower the jars into Canner. if there is space for more jars, you can add jars filled with water to prevent them from tipping during processing.
- Add the lid and bring the Canner to boil until steam comes out the top in a steady stream for 10 minutes. Add the pressure regulator weight (10lb for under 1000ft elevation and 15lb for over 1000ft elevation) and let the Canner come to pressure and the weight jiggles.
- Start timer according to size of jar. 75 minutes for 500ml (pint) and 90 minutes for 1L (quart)
- Once timer is finished, turn heat off and follow manufacturers instructions for de-pressurization.
- Remove jars from Canner and place on wooden board for 12-18 hours.
- Remove rings/clips and check to make sure they have sealed. If there is any residue on the jars give it a clean with a cloth and some warm soapy water then label your jars with the contents and date processed. Store in a single layer, do not stack.